Quickstart
Bring up an IoT experiment, drive a device, collect the data, and release the hardware, in a handful of commands.
This is the happy path. It assumes you already have a SPHERE account with access to an IoT project. If you don’t, or you want each step explained, start with Using mrg-iot instead.
IoT device support is currently in beta. Report issues and share feedback with the NEU IoT Facility.
Prerequisites
mrg-iotinstalled and on yourPATH. See Installation.- A SPHERE / Merge Testbed account with access to an IoT project (
neuiot,iotbeta, oriotdev) - Optionally VLC, if you want
mrg-iotto open camera streams for you. Any RTSP-capable player works:mrg-iot stream urlprints the addresses so you can open them in whatever you already use. See Camera streams.
1. Log in
mrg-iot login
Your session token is cached at ~/.mrg-iot/session.json, so you only do this once.
2. Pick a device
List what is free to reserve right now:
mrg-iot devices list --available
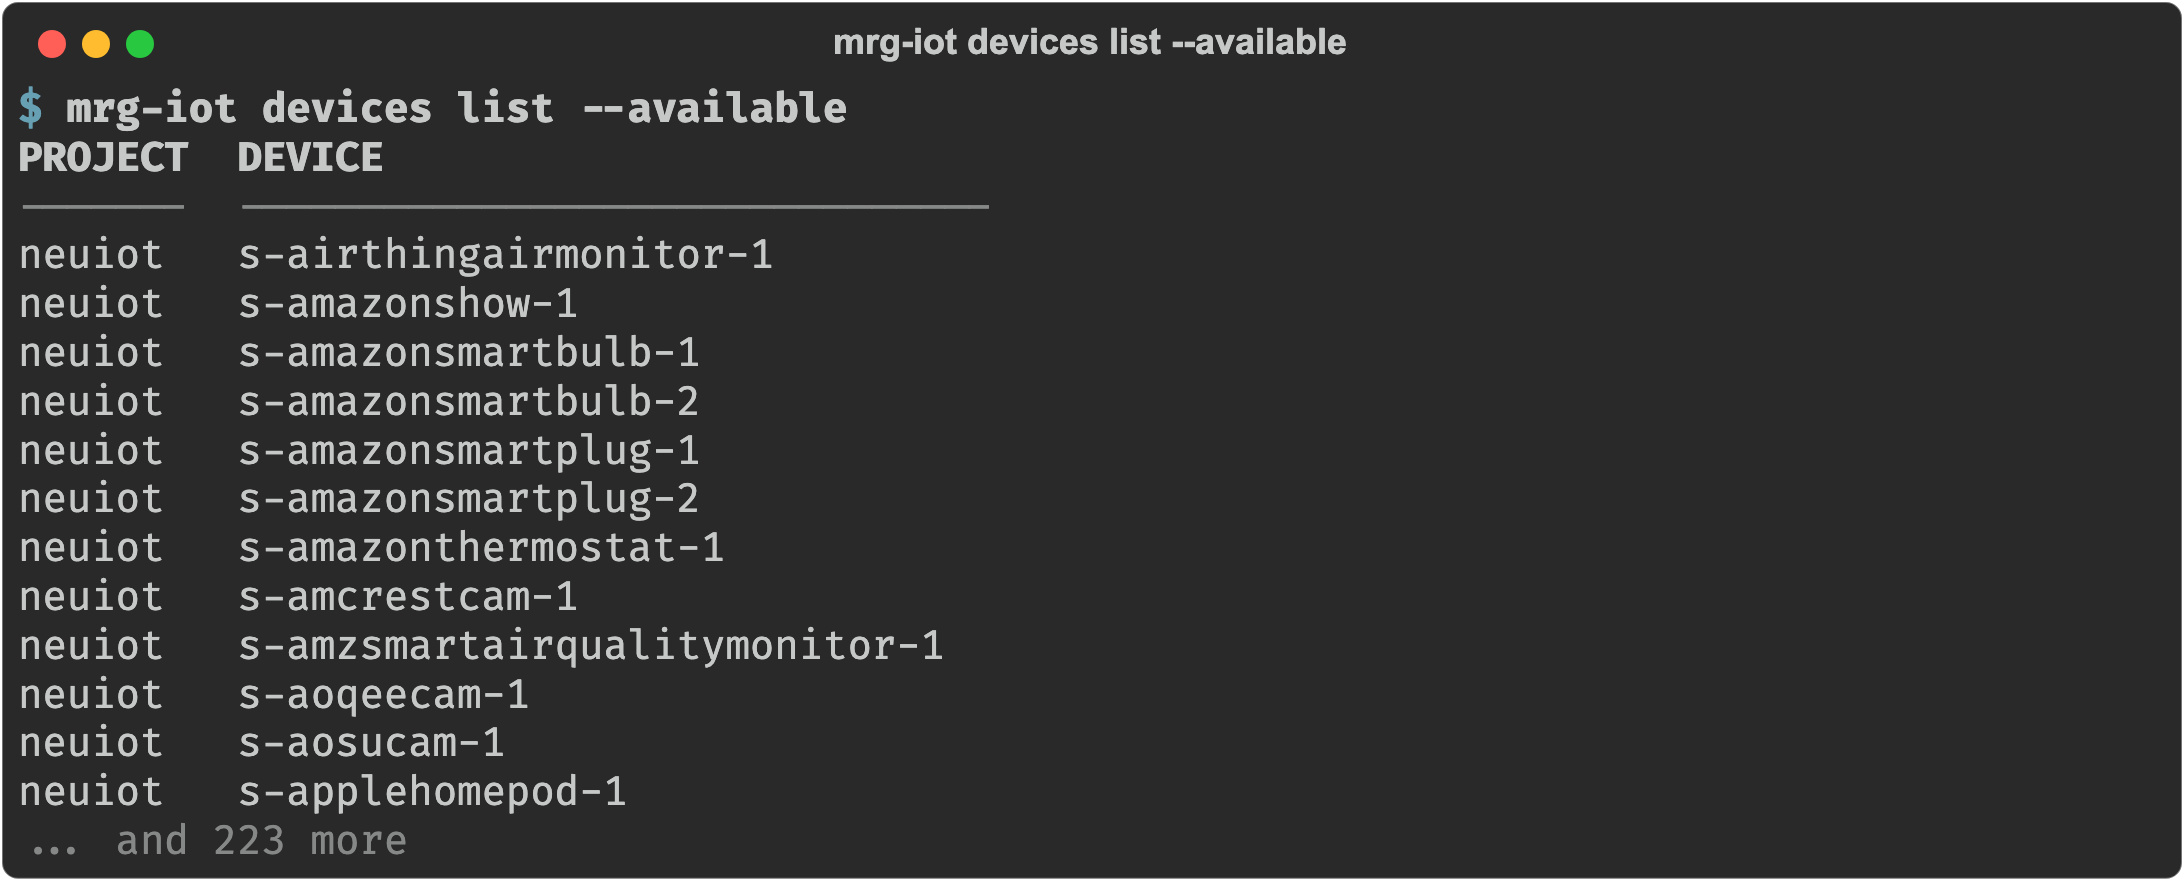
Device names look like s-echodot-1. Note one or two down for the next step.
Device names carry a prefix. s- is a device under test, the kind you send commands to. m- is a helper phone (e.g. m-googlepixel-1), used to drive a device’s companion app; these are being brought online and will start appearing in this list. mrg-iot already reports both, but only s- names accept commands today, and it tells you so if you address an m- name.
3. Bring up the experiment
exp setup creates the experiment, allocates the hardware, brings it online, creates an XDC, and attaches it. One command, no prompts:
mrg-iot exp setup myexp --devices s-echodot-1

Experiment, realization, and XDC names must match ^[a-z][a-z0-9]*$: lowercase letters and digits only, starting with a letter, max 32 characters. The default duration is 1w, and 4 days is the minimum.
Anything you leave out is derived: the project (if you belong to only one), the experiment name (your username), the realization (realiot), and the XDC (<experiment>xdc). So mrg-iot exp setup --devices s-echodot-1 on its own works too.
4. Drive the device
Send commands with cmd run. Each one opens a session, runs, and exits:
mrg-iot cmd run "exp devices" --experiment myexp

Ask a device what it can do, then do it:
mrg-iot cmd run "s-echodot-1 commands" -e myexp
mrg-iot cmd run "s-echodot-1 click_button" -e myexp
Prefer a prompt you can keep typing into? mrg-iot cmd shell -e myexp opens one.
5. Collect the data and release the hardware
mrg-iot file list -e myexp                 # what the experiment produced
mrg-iot file download -e myexp             # the whole output directory, as a zip
mrg-iot exp teardown myexp                 # release everything
file list shows the share the experiment writes into. output holds the current run, and uploads is where your own files land:
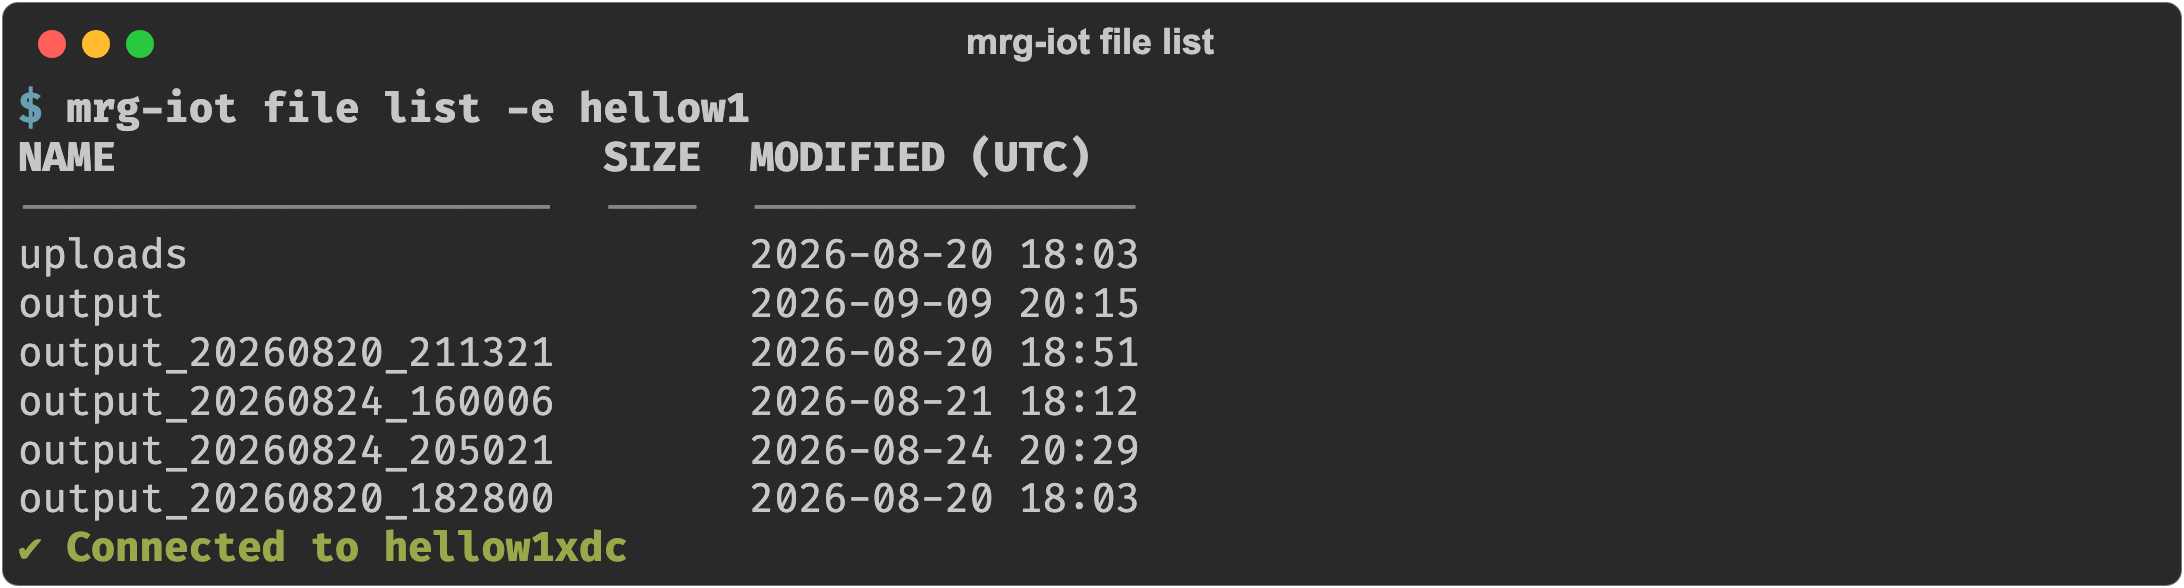
To send a file the other way, into uploads/, use file upload:
mrg-iot file upload ./video.mp4 -e myexp
file remove deletes one, and file client opens the share in a browser. See Get your data for the full set.
And exp teardown names each resource as it releases it:

An experiment you don’t tear down keeps holding its hardware until its duration runs out, and it counts against your quota. Run exp teardown when you’re done. It is safe to re-run and skips anything already gone.
The whole thing
mrg-iot login
mrg-iot devices list --available
mrg-iot exp setup myexp --devices s-echodot-1
mrg-iot cmd run "s-echodot-1 click_button" -e myexp
mrg-iot file download -e myexp
mrg-iot exp teardown myexp
One command instead of all of them
mrg-iot run does the same lifecycle as a guided flow: it asks which devices you want, provisions them, drops you at the spiot_ctl > prompt, offers you the files on the way out, and cleans up when you type exit.
mrg-iot run
It is the one command that asks questions. Every other command in these guides runs unattended exactly as written. See Using mrg-iot §3c for what it does on exit.
Next
- Using mrg-iot: the full walkthrough, including account setup, camera streams, and async commands.
- Troubleshooting & FAQ: when something goes wrong.