Research Accounts
This guide covers the basic things you need to do to get started with SPHERE.
This guide assumes you are using the reference portal at sphere-testbed.net. If you are using a
different portal, substitute addresses in this document that reference sphere-testbed.net accordingly.
Consult your project leader if you are not sure of the portal address.
The SPHERE Portal uses its own identity server to manage user identities. This is much like having a Google or Gitlab account, but in a server created for SPHERE Portals. This identity server manages your identity data and authenticates your communications to the SPHERE Portal. Note that the account made here is not a SPHERE Portal account. It is an identity account. Later in this walk-through portal admins will use this identity information to create a portal account.
In the future SPHERE will support third-party identity allowing SPHERE accounts to be created using, for example, an institutional login (e.g., with your University) or a Google login.
Account Setup
The first step to experimenting on the SPHERE testbed is to create an account on the SPHERE portal. Follow the instructions either using "Launch" (the graphical web interface) or through the Merge command line interface (CLI).
Account Creation through Launch
Navigate to the SPHERE "Launch" GUI at https://launch.sphere-testbed.net. You'll be greeted with a page that looks much like this
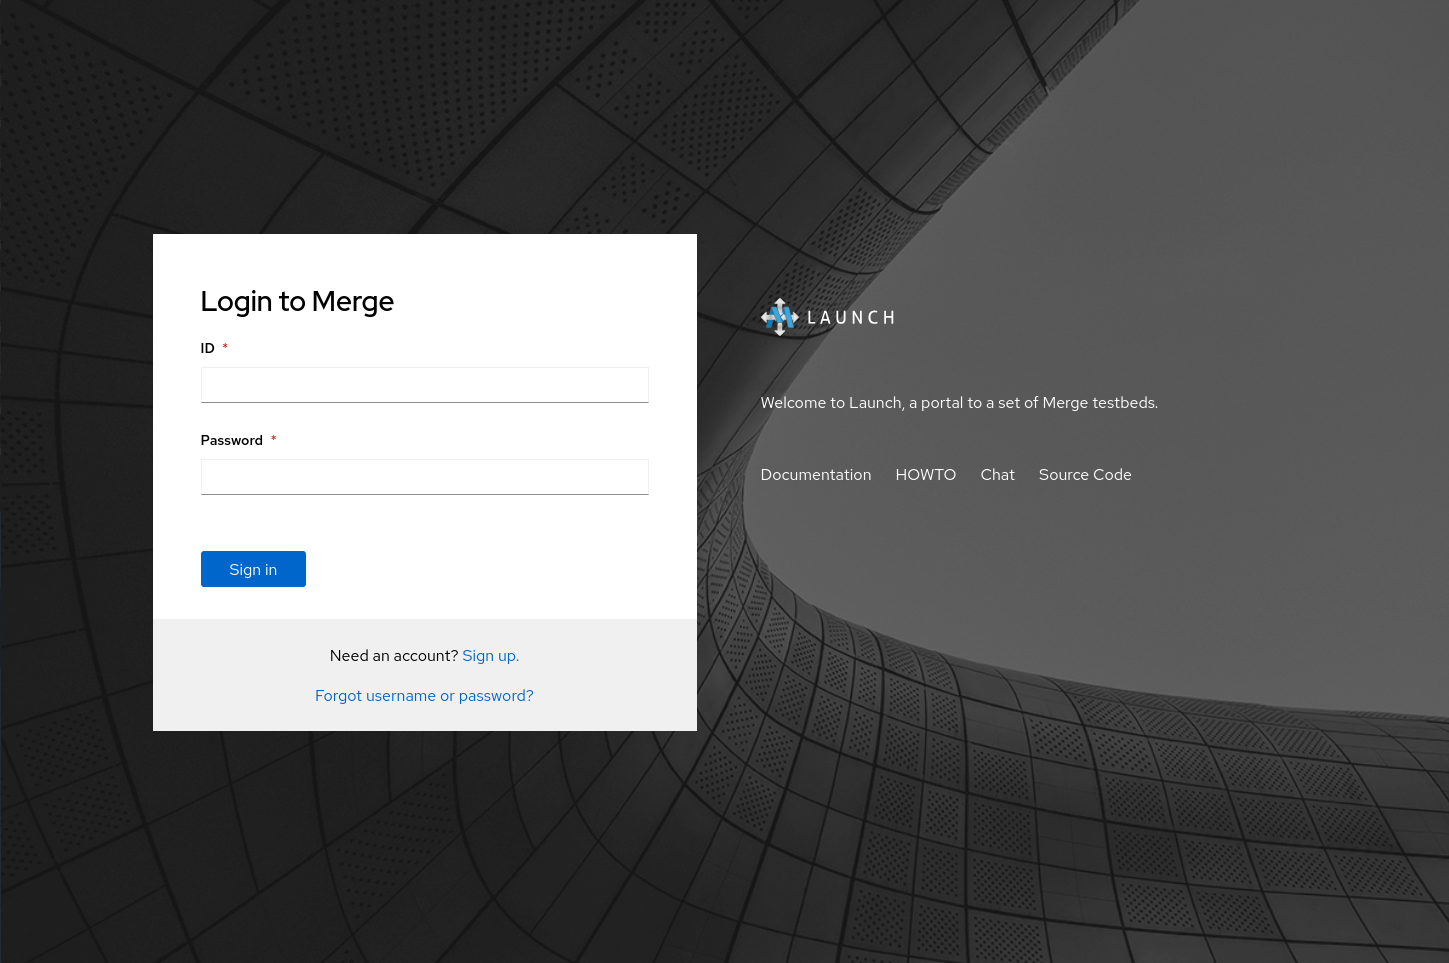
Click the Sign up link to load the account registration page.
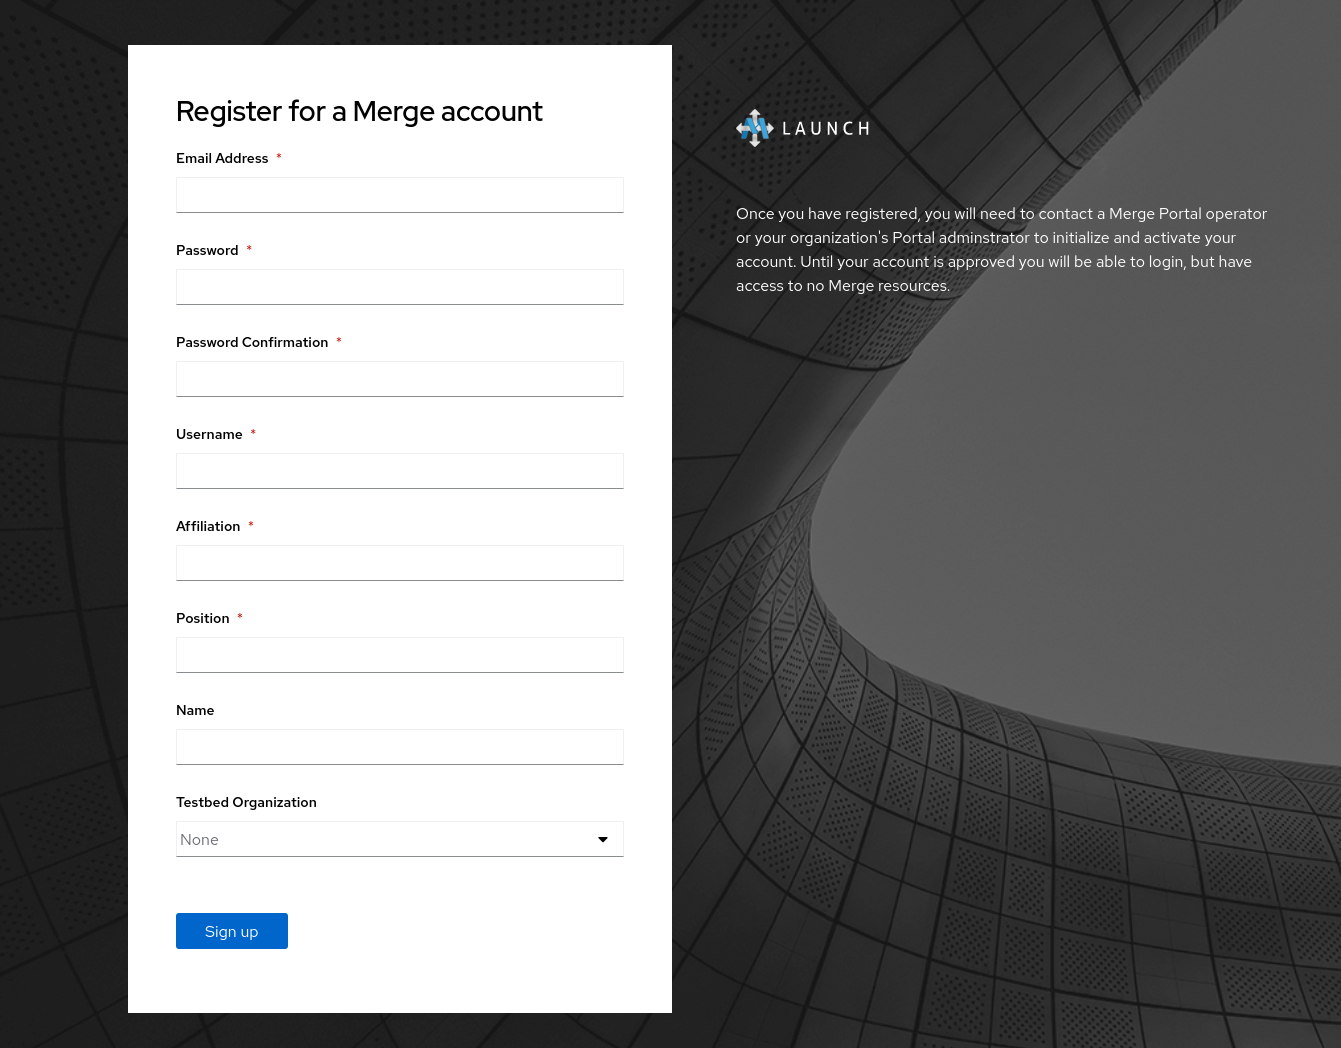
Fill in your account details:
Email Address- the email address for the new account.Password- the account password. The password will be rejected with a reason if it is not strong enough.Password Confirmation- the account password again to confirm it has been typed correctlyUsername- the account username. This username is used to login to the portal and on all testbed nodes.Affliation- institution to which you belong.Position- your position within your institution.Name- your full name.Testbed Organization- an existing organization in the merge portal you want to join.
The password you choose will be used to login to Launch and the Merge command line utility mrg.
If you do not use a command line aware password manager, you may want to choose an easier-to-type
password as you may be typing it in on the command line.
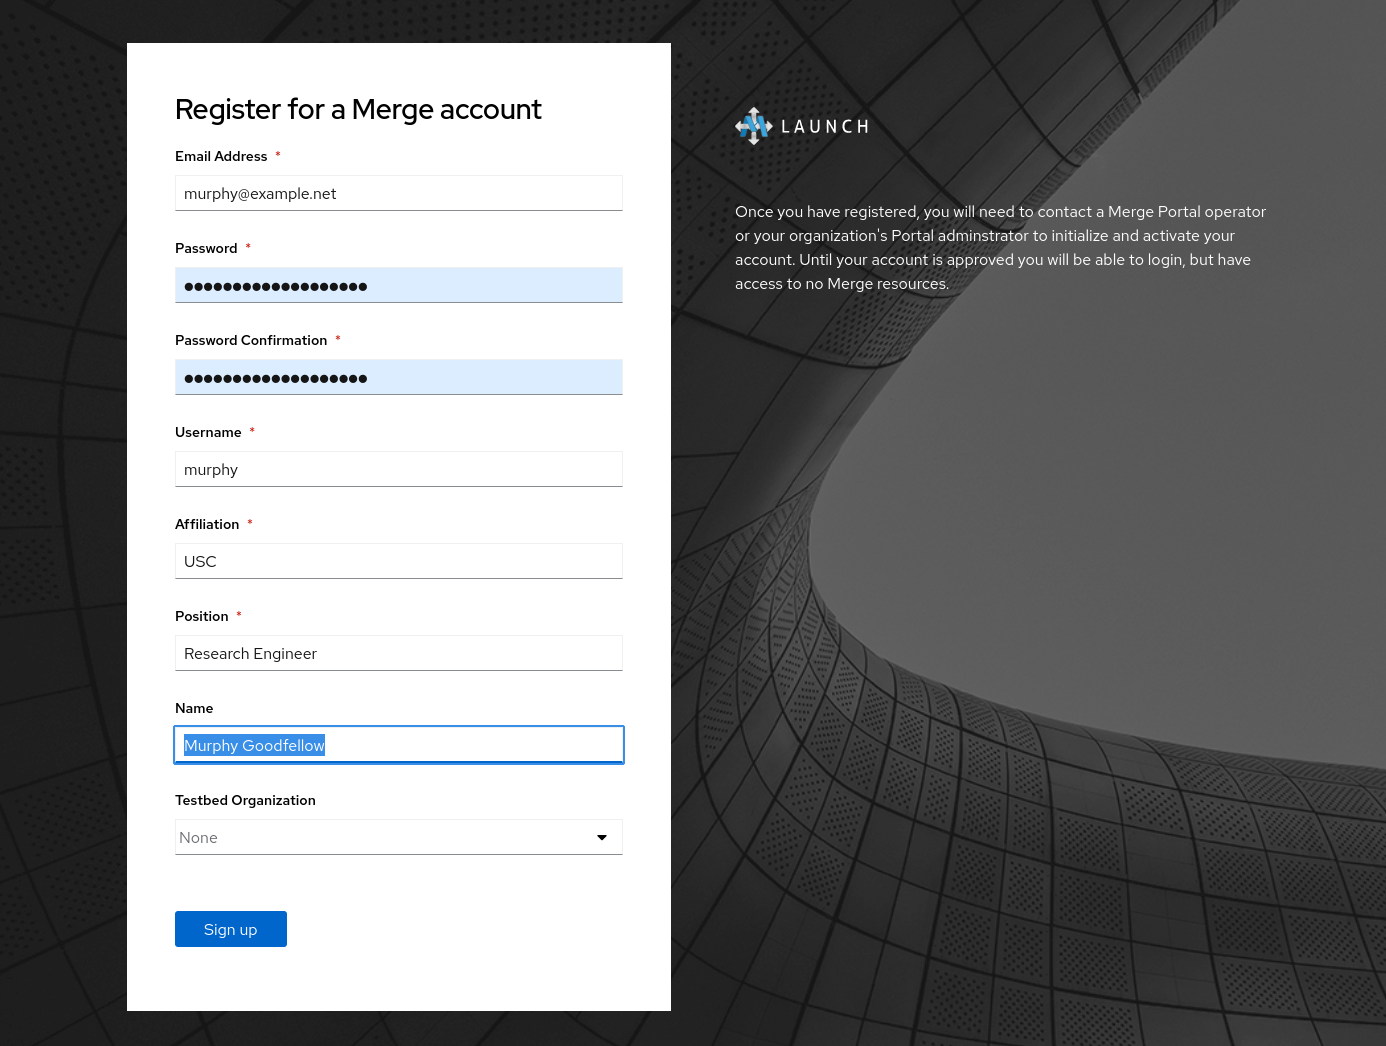
Once done, click Sign Up.
Activate Your SPHERE Portal Account
For regular accounts, SPHERE administrators will receive automated alerts and will manually approve your account. Accounts for class and artifact evaluation use are programmatically created an approved. If you joined an organization while registering for a new account, contact that organization’s administrators. They will use the Identity account created above to create an account for you on the SPHERE Portal. Speak with your project leader for up-to-date information on how best to contact them.
Until your account is activated, you'll see that you do not have access to any information on the portal. You can login, but you will not have access to any information within the portal. So pages in Launch will show nothing, or an access error.
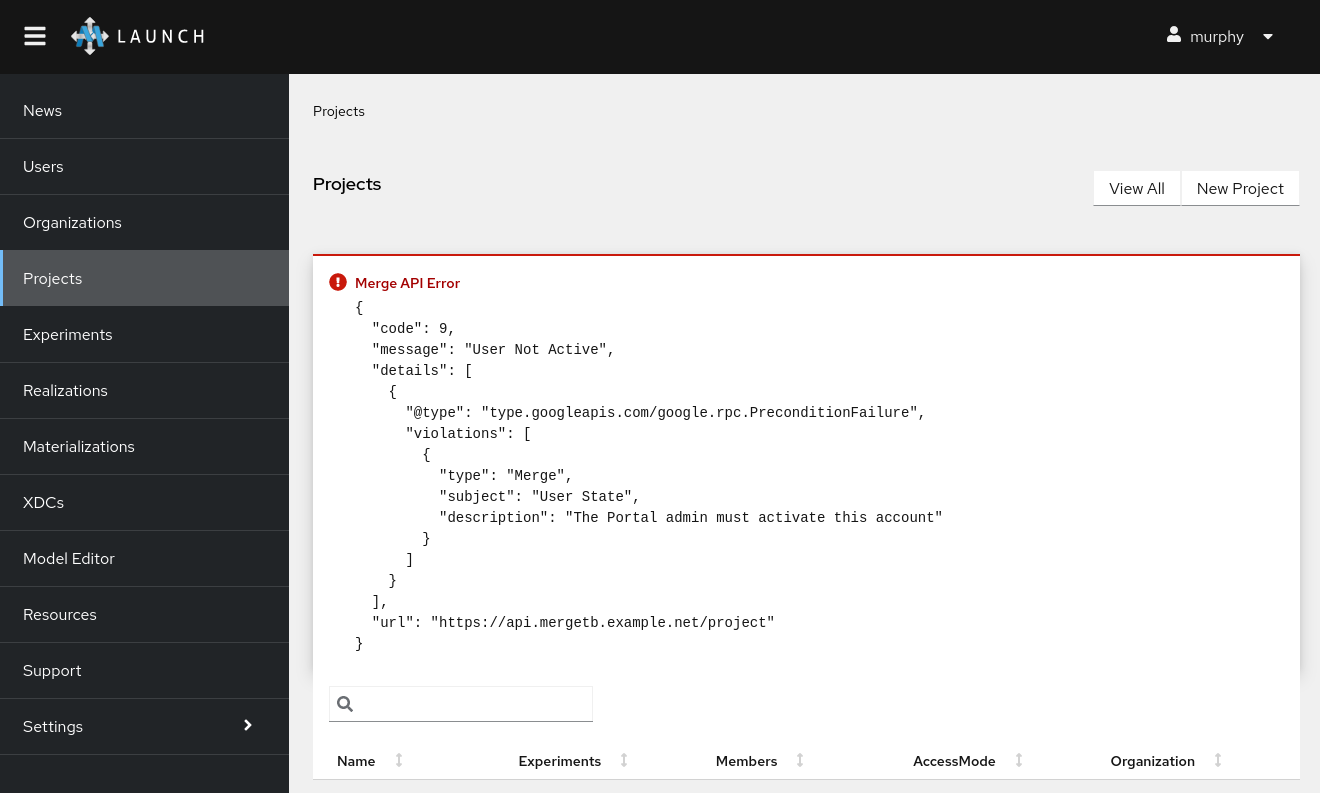
Once your account has been activated, your data will load and you are ready to start using SPHERE!
Account Creation through the CLI
First, download the Merge CLI mrg for the operating system and CPU
architecture of your machine at the latest release page.
Configuring the API endpoint
The mrg CLI needs to be configured to know how to communicate with the portal. This is done by telling mrg the server of the portal.
The server address can usually be constructed by prepending "grpc." to the portal fully-qualified name (in the case of SPHERE testbed, this is sphere-testbed.net; e.g.,:
mrg config set server grpc.sphere-testbed.net
As noted above, consult your project leader for the appropriate portal address.
Register account
Then, register your account using the mrg register command. The fields used to register on the command line are the same as above in Launch.
For example, to create a user named "murphy" with email "murphy@random.org", affiliation "USC", position "Research Programmer", and password "muffins1701":
mrg register murphy murphy@random.org USC 'Research Programmer' -p muffins1701
If you are joining a testbed organization, you specify that via the --organization [name] argument.
mrg register murphy murphy@random.org USC 'Research Programmer' -p muffins1701 --organization 'USC201`
mrg has a built in help system. You can add --help to any command to get more information about that command:
$ mrg register --help
Register a new identity with the portal

Usage:
  mrg register <username> <email> <affiliation> <position> [flags]

Flags:
  -h, --help                  help for register
      --name string           user full name
      --organization string   request organization membership
  -p, --passwd string         user password

Global Flags:
  -c, --colorless         Disable color output
  -j, --json              Output JSON
  -l, --loglevel string   Level to log at. One of panic, fatal, error, warning, info, debug, trace (default "info")
  -s, --server string     MergeTB API server address
Account Approval
Once you have created an account using either the web interface or the CLI, administrators will approve your account or ask you for more information. If you joined an organization, please contact the organization owner directly to approve your account.. Speak with your project leader for up-to-date information on how best to contact them.
Once your account has been approved, you are ready to start using SPHERE!